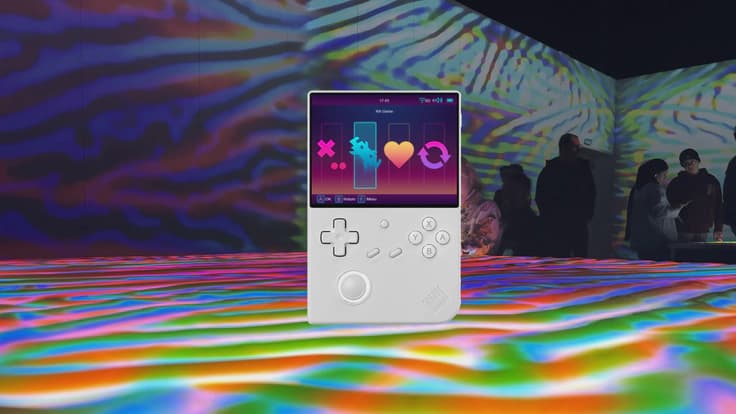
The Anbernic stock OS leaves a fair bit to be desired. This is often the first thing fans of these devices replace, along with the micro SD card that often turns out to be poor quality.
In this guide we dig deeper into MuOS: what are the pros and cons, how do you install it, and how do you put games/roms on your device?
What is MuOS (MustardOS)?
Custom Firmware: MuOS is an alternative operating system that has been specially developed for retro gaming consoles, such as the Anbernic RG35XX.
Improved performance: It offers optimisations, such as faster load times, improved emulation performance and a smoother use of the interface.
Extra functionality:
More configuration options for emulators.
Support for a wider range of games and roms.
The ability to use save-states, shaders and other modern features.
Community-driven: This firmware is maintained by an enthusiastic team of developers.
Supported devices
At the time of writing, MuOS supports the following Anbernic devices:
RG28XX
RG35XX H
RG35XX Plus
RG35XX-2024
RG35XX-SP
RG40XX H
RG40XX V
If you don't already have a retro emulation handheld, have a look at my webshop RetroGear.
Check the official website for the most recent list of supported devices.
Who is MuOS for?
MuOS is ideal for retro gaming fans who want to upgrade an Anbernic console, such as the RG35XX, for a smoother and more customisable gaming experience. It is perfect for users who want to get past the limitations of the stock firmware and benefit from faster performance, more extensive emulator functions, and a user-friendly interface. Thanks to the active community, MuOS offers regular updates and support, making it a must-have for anyone who wants to get the most out of their handheld gaming console.
Is it any good?
Although I personally prefer working with KnulliOS, MuOS is certainly a solid choice. A big advantage over KnulliOS is how easy it is to put ROMs and BIOS files onto your SD card. With KnulliOS, this takes a bit more setup because you have to put them on your device via Wi-Fi.
So I'd recommend MuOS for gamers who do want a custom OS, but are looking for less complexity. Another advantage of MuOS is that it is configured correctly almost straight away.
One downside compared with KnulliOS is that it includes fewer tools. For example, on KnulliOS you can very easily scrape game data, such as images and videos, and set timers for this.
Installation, putting BIOS and ROMs on your device
Already got an SD card with MuOS on it? Then go straight to step 7.
Note: this guide was written for a Mac. For Windows users, I recommend reproducing the steps. I will update this guide in future to support Windows as well.
Step 1: Download the MUOS image
Download via: https://muos.dev/release/current
Choose the right version for your device. In this case I am using the version for the Anbernic RG40XXV, but this guide also works fine for a RG35XXSP etc.
Unpack the file:
On Mac: double-click the file.
On Windows: use a tool such as 7zip.
Step 2: Connect the SD card
Insert the SD card into your Mac via an SD card reader. Make sure you know which drive the SD card represents.
Step 3: Find the correct drive
Open the terminal and enter the following command to see all connected drives:
diskutil list
Look for your SD card in the list (for example disk2) and make a note of it. Make sure you choose the correct drive, because the next process will erase all data on that drive.
Step 4: Format the SD card to FAT32 (Mac Terminal)
To format the SD card correctly to FAT32 on a Mac, follow these steps:
Use the following command to format the SD card to FAT32:
diskutil eraseDisk FAT32 MUOS MBRFormat /dev/diskX
Replace diskX with the device ID of your SD card, for example disk2.
In this example the drive is renamed to MUOS and formatted with a Master Boot Record (MBR).
Check that the SD card has been formatted correctly with:
diskutil info /dev/diskX
Make sure the file system is set to FAT32.
Step 5: Unmount the SD card
Disconnect the SD card without physically removing it:
diskutil unmountDisk /dev/diskX
Replace diskX with the name of your SD card, for example disk2.
Step 6: Write the MUOS image to the SD card
Use the dd command to write the image to the SD card:
sudo sudo dd if=/path/to/muos-image.img of=/dev/rdiskX bs=1m status=progress
Replace
/path/to/muos-image.imgwith the full path to the MUOS image file.Replace
rdiskXwith the name of your drive. Example:
sudo dd if=/Users/Jorne/Downloads/muOS-RG40XX-V-2410.2_BIG_BANANA-84829a15.img of=/dev/rdiskX bs=4M status=progress && sync
Enter your password when prompted.
Step 7: Install on your device
Put the SD card into your Anbernic device and turn it on. The installation process takes about 7–8 minutes.
Step 8: Put BIOS files on the SD card
Note: it is not always legal to use BIOS files.
Download the required BIOS files.
Move the files to the
MUOS/biosfolder.Replace files if prompted.
Step 9: Put ROMs/games on the SD card
Download ROMs only from reliable sources. Have a look on Itch.io for cool new games; most of it you can download for free, but you can also choose to support the developers by making a donation.
Sort your ROMs into folders, for example SNES games in an SNES folder.
Move the folders to the ROMS folder on your SD card.
Step 10: Play your games on your new custom OS
Put the SD card into your Anbernic device and turn it on. Go to Explore Content to view and play your games.
Step 11: Pick a cool theme
Have a look on https://muos.dev/themes and choose a theme. Download the zip and place it in MUOS/theme.
Select the theme via Configuration > Customization > MuOS Themes.
Step 12: Go outside and shout “Jorne thanks!!!!!!”
Joking, don't do that… but…
If this post helped you, I'd really appreciate it if you shared it with friends or acquaintances. And if you're still looking for a Brick, MM+ or another retro device, feel free to have a look at my webshop retrogear.nl
-xxx-
Jorne